
Lately I've been working with Blender. For those of you who don't know, Blender is a 3-D shape editor and landscaping tool, much like Sketch-Up. But Blender is much more technical, and you can do a lot more with it. After following some online tutorials, I've figured out the basics.
When you first open it up you see a square in the center of a grid. That is actually a cube, but since you are looking down on it, it looks 2-D. To change views go to this menu:
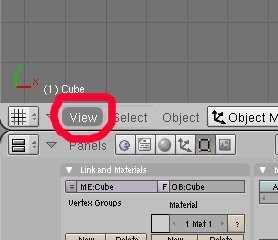
You can choose top, front, side or camera. The camera is that triangular thing in the bottom right. If you choose it for your veiw, you can see that that square is 3-d.
If an object is selected it will be highlighted purple. To do this right click on the object. To select multiple objects, hold shift and right click on them.
To add an object hit the space bar, add mesh, and then choose the shape you want to add.
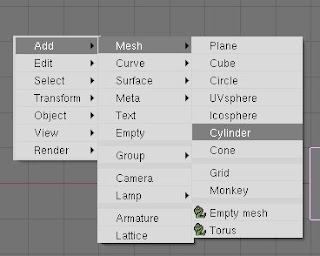
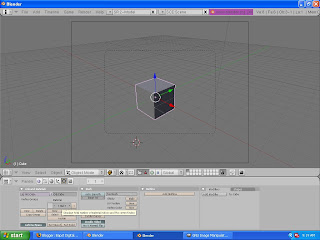
Then you select properties of the shape. Double click to type in the properties, or grab the bar and slide it left or right to change it.
To edit the object even further hit the Tab button or change the mode manually using the menu next to the object menu. Now you can select vertexes and move them. Right click to select one, or shift-right click to select multiple ones. Once you have multiple ones selected you can move rotate or scale(the same way), all in relation to the object's center. When you are done editing the object hit tab or manually switch back to object mode.
To add color to the object, click on the sphere: this is the shading menu. Now you can adjust the red green and blue values.
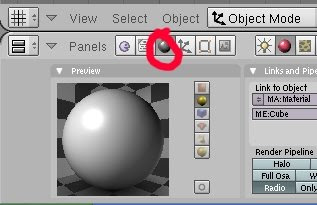
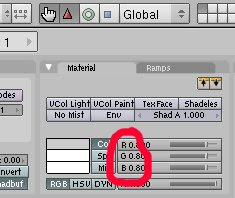
To adjust shading, adjust the values in the shaders menu.
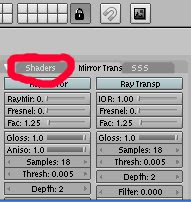
Clicking does some random thing, I haven't figured it out yet.
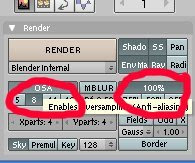
You can add cameras like any other object(space button). You can go to the different camera views using the same "View" menu.Now you need to add light, add lamp, sun, spot using the space button. You adjust the light using the shading menus, and you can move the light to where it is best. To take a picture hit F10, this takes you to the scene menu. You should adjust the render options to make the render smaller and at a lesser quality, or the render will take hours to do.
Good detail on explaining. You didn't leave anything to question.
ReplyDeleteGreat posting, very specific and informative. Screen capturing helps a lot. Final product is very vivid; it looks like a prototype for a Disney/Pixar character
ReplyDeleteFantastic process description, Pat. This really looks great and your use of screen captures and text is really effective in giving us all a good idea of how to use Blender. I hope we can get to this although it may be too much to squeeze in...we'll see.
ReplyDelete